Blog Archives
How To Recolor Sprites in Gimp (A Very Simple Guide)
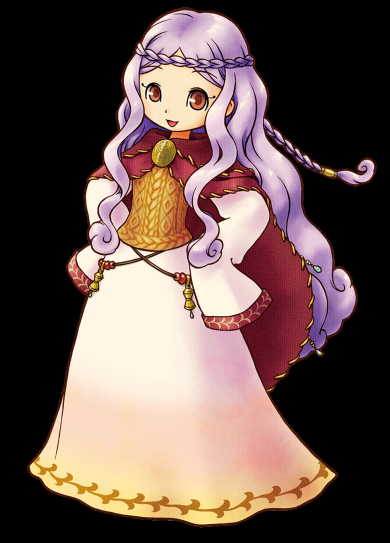
Ever wanted to change the color of a sprite character’s outfit, their eyes or their hair? It’s very easy and simple to do using an art program (such as Gimp which is free) and even beginners can make nice color changes! Follow along as I turn Elli’s dress from blue to pink:
1: Open up your sprite in Gimp and zoom in about 800%. You want the sprite large enough that you can easily see the pixels.

2: Using the Select By Color Tool (it looks like a hand pointing to a bar colored blue, red and yellow and is generally in the top right hand corner of your toolbox) select the lightest color of the object you want to change. It’s important to start with the lightest color as you can then easily darken the color bit by bit for the shading.

3: Using the Paintbucket tool, fill the selected areas in with the color of your choice. You can quickly fill in all the areas by holding down Shift while selecting one of the highlighted areas – this will automatically fill them all. While this is a great time saver, sometimes you will have to select each area individually if the color is used in other areas you want to leave as-is.

4: Using the Select by Color tool, select the next darkest area of the object you’re changing. Then, using the color selector, pick a color that is darker than your original color. Make sure it’s the equivalent darkness to the shade you are replacing – if it’s too light or too dark, it will look odd.


5: Repeat the process to fill in all the remaining shades until you have completely replaced the old color scheme with your new one. The most important thing to remember is to match the shades that you’re replacing, otherwise the shape and shading will look off.

6: Zoom back to normal magnification and see how your sprite looks now.

7: There, she’s looking pretty good! Now I’m going to quickly repeat that whole process to change her bow to a more fitting color to match her dress:


8: Now let’s compare our original Elli next to her new version:


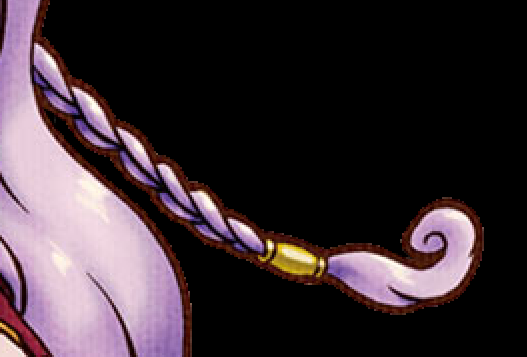
And there you have it! You can use this method to change any color on a sprite, but be aware that the more colors you are replacing, the more attention you have to pay to replacing the shades exactly. Hair is one of the most difficult things to change because there is generally so many shades to replace and often the color of the hair is used elsewhere on the character, meaning you have to be careful exactly what you replace. Elli has the same brown color of her hair outlining her face – changing her hair would be quite a project. The easiest color to change is one that isn’t used elsewhere on the character – for example, Nami:

Her red hair is easy to change because the colors don’t blend into her face or outfit. So it’s easy to make her, say, a blonde (with purple eyes, no less!):

Finally, remember to save your work often! If you successfully change the color of a character’s shirt, save your work before you try to tackle another object. That way if you mess up, you won’t have lost all your recoloring work.
How to quickly and easily crop an image in Gimp
In my many artistic/coding/digital endeavors, I find myself with that same old problem of wanting to use an image for something – but it has that nasty white space behind it! And usually the only method (that most people know) to remove it is to slowly crop it by hand.
I hate cropping pictures.
So I fiddled around in gimp and found a fantastically easy way to cheat at cropping! :D
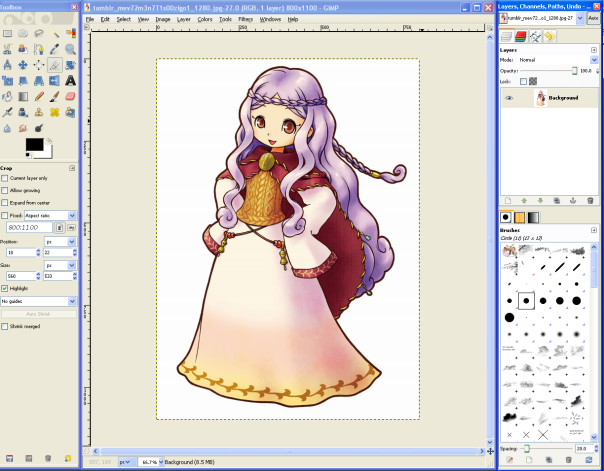
To start, open your image up in gimp. The image I’m using is Oracle from the game Harvest Moon: Tale of Two Towns.
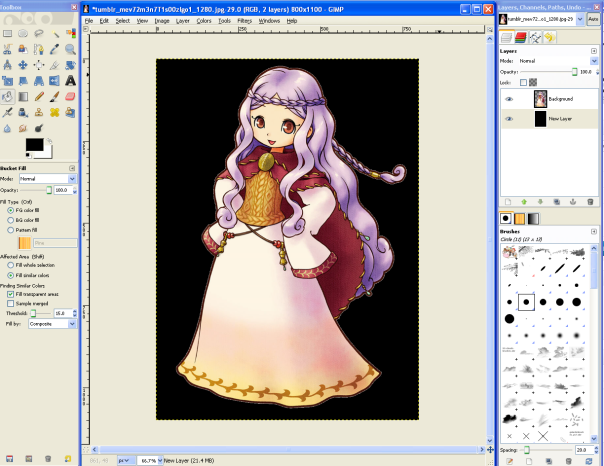
1. Go Layer > Transparency > Add Alpha Chanel. Next, using the Magic Wand tool (circled in red below) select the white space around your image and delete it. You’ll get rid of most of the white space.

2. Now add a second layer to your project, move it under your image and fill it with black. Ahhh, see all that nasty white residue still clinging to your character? Not what we want.
3. Using the Magic Wand tool again, select around your character, then go Select > Invert. Next, go Select > Shrink and shrink the image by 1 pixel.

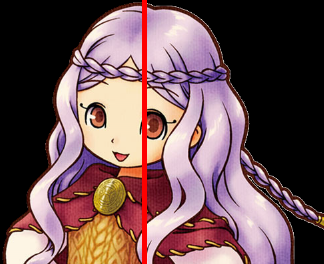
4. Now go Select > Invert (again!) and then press delete and unselect the image so you can get a good look at it. Hey! All that white is gone from around the character! Pretty neat, huh? Here’s a comparison of before and after:
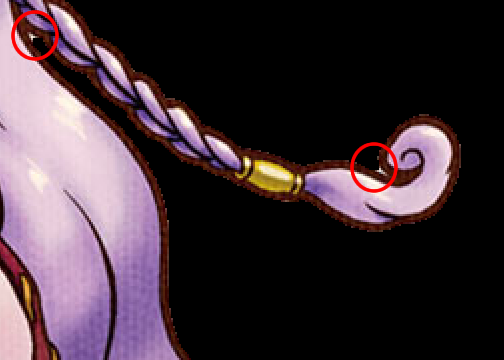
5. Whoops, okay, so nearly all the white. There’s a few spots that managed to sneak by:
6. To get rid of these, you’ll have to use the Free Select Tool (looks like a little lasso by the Magic Wand) to select the areas, and then delete them. Like so:
7. Now remove the colored layer and save your image (make sure to save it as PNG to save the transparency!). And here she is, all cleaned up and ready to go on any colored background you choose! :)
How to Clean and Tone a Sketch with Gimp
I thought I’d share how I make my little comic doodles using a rough sketch and gimp. I enjoy making these because they’re quick to do and don’t require any of my fancy drawing tools, meaning I can make these at work to pass the time (I keep card stock on my desk to use instead of an actual sketchbook). Typically, it will take me under two hours to make one of these from start to finish, depending on how complex the drawing is. To follow along, you’ll need:
- paper (a thicker sketchbook paper, or card stock)
- pencil (you can use your fancy drawing pencils, or a simple every day pencil)
- Ultra Fine Point Sharpie Marker (the kind you can pick up in any office store)
- Scanner (and the basic knowledge to use it)
- Gimp (and the basic knowledge to use it)
Making the Doodle:
To get started, draw your doodle on the paper with the pencil. Easy, right? (sorry, this isn’t a drawing tutorial, it’s a “make this picture look good and put it in a digital form” tutorial).

Don’t worry about getting your doodle perfect – I usually leave a lot of my sketch lines. We’ll erase these later so it’s okay. I also don’t put in the finer details until after the main inking is done.

Using the ultra fine point marker, start slowly going over the lines of your doodle. *NOTE* This can be tricky to get the hang of at first, so don’t get discouraged! Even if you make a mistake or decide you don’t like what it looks like, you can fix it with Gimp. Notice that extra line on Wonder Woman’s right thigh? I decided after I inked it that it made her leg look too straight, so I added the second, softer line. I’ll remove the first line in the touch up phase.

Continue to ink your lines until you’re happy with them (please excuse the blurry pic).

Once the main inking is done, erase your original sketch lines. This is where you’ll really see how your doodle looks. If there is any fine detail to do, sketch it in now and ink once you’re happy with it (I did the W on Wonder Woman’s chest after the other inking was done, and no, still not happy with how it looks but that’s about the best I can do on a little chibi doodle).

Go over your picture one last time and make sure it’s as clean of pencil marks as can be and then scan it, saving it to your computer.
Editing in Gimp:
Now, open the picture in gimp.

Start by creating a new layer. This is the layer we’ll add our clean up touches to.
Working on the new layer, zoom in until the area you wan to fix is large on the screen. In this case, I’ll be fixing the line on the thigh.

Select the magic lasso tool and select around the blemish you want removed. Using the paintbrush and white, touch up the area (notice I had to be careful around the lines of the boot as I didn’t want those removed).

Repeat where ever necessary. When you’re satisfied, merge the touch up layer down to the bottom layer. This is your cleaned up raw. I like to save my work as a PNG now, usually naming it something like [projectname]_clean.PNG
If you’ve already saved your clean version of your doodle, save a new version of it (something like, [projectname]_1.png). This is the version you’ll be adding screen tone to. With the newly saved version, scale it down to the size you want it to be. Then go image >fit canvas to layer to shrink the canvas to fit the new smaller size.

Now select the area you want to fill with screen tone by selecting it with the magic wand tool. Next, use the paint bucket and set it to ‘Pattern Fill’ (click the image of the current pattern to be given more choices). Choose the pattern you want and then click the selected area on your doodle to fill it. Repeat until you have filled in all the areas you want with screen tone.
Some things to remember when filling in with screen tone:
- Don’t over do it! Use the already available white space to your advantage and don’t fill every space with tone.
- If more than one area is supposed to be the same color, use the same tone to convey this. I.E, Wonder Woman’s top, boots and star on her crown are all supposed to be red, so I used the same tone for that.
- Try to use different types of tone to keep things from running together. I always use a dot tone for the hair (manga influence?) but like to use the noise tones for solid colors in the clothing. I think it gives a nice contrast.
- If you’re trying to fill in a space but the magic wand is selecting more than you want, check your lines. If the space isn’t closed in completely, do touch up with a black paintbrush to close off the area.
- The patterns I used are default to gimp, but if you want to find more just google “download gimp patterns”. Deviant art has many good manga/comic screen tones you can use to add more tone to your art.

Looking good! Now make sure to save your work. Here’s our original, uncleaned raw next to the cleaned and toned finished pieces:

Note that when I cleaned the raw, I removed the smile (decided I didn’t like it) and touched up many areas where the ink had gone over the line.
And that’s all there is to it! Happy doodling :D
